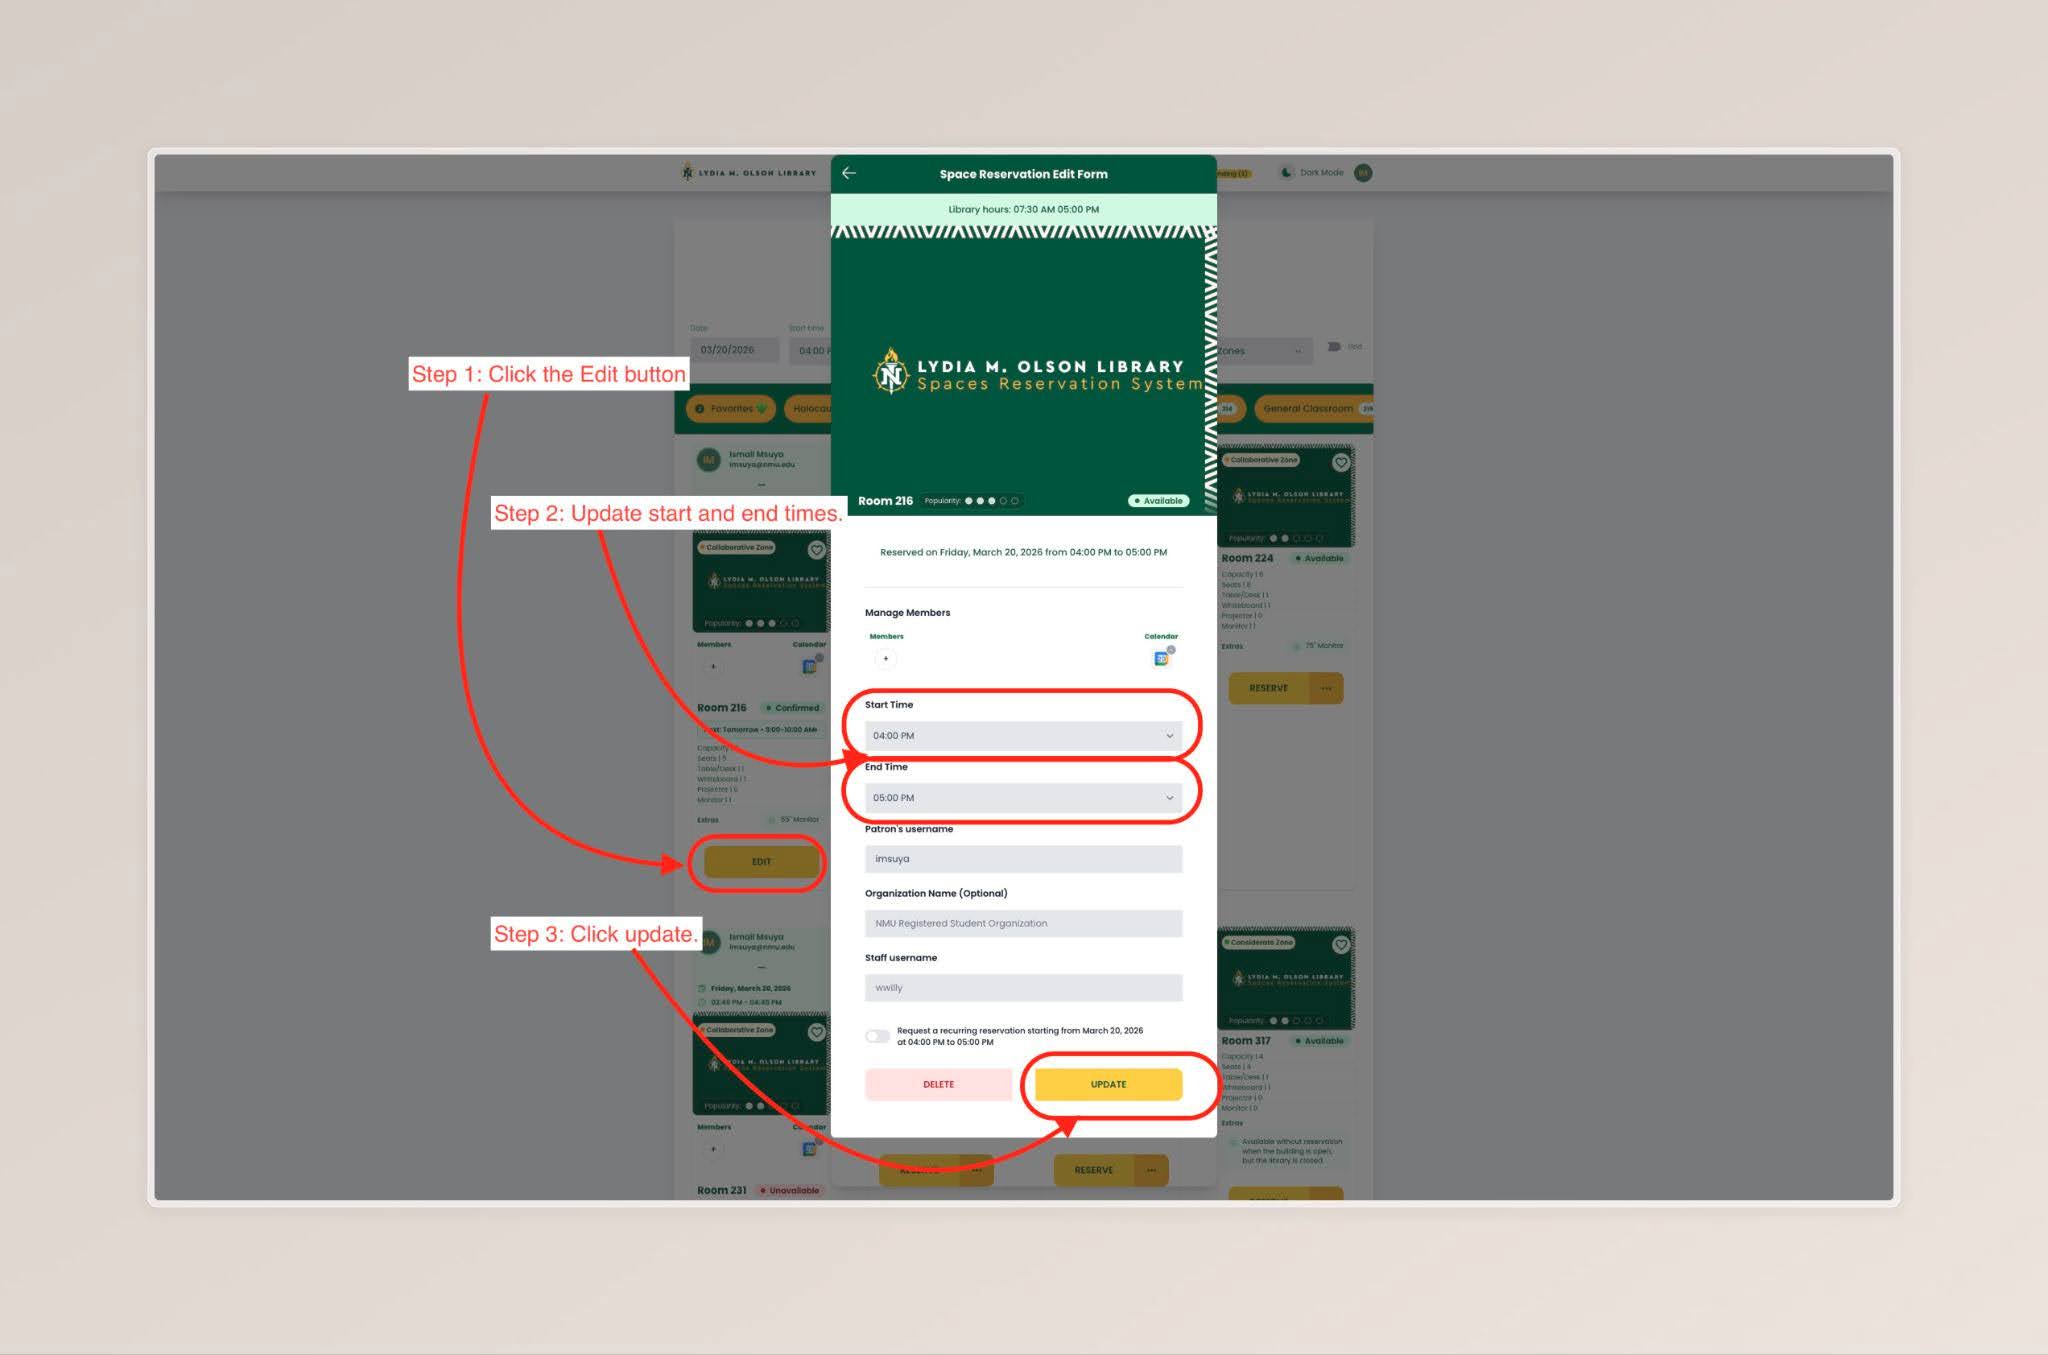
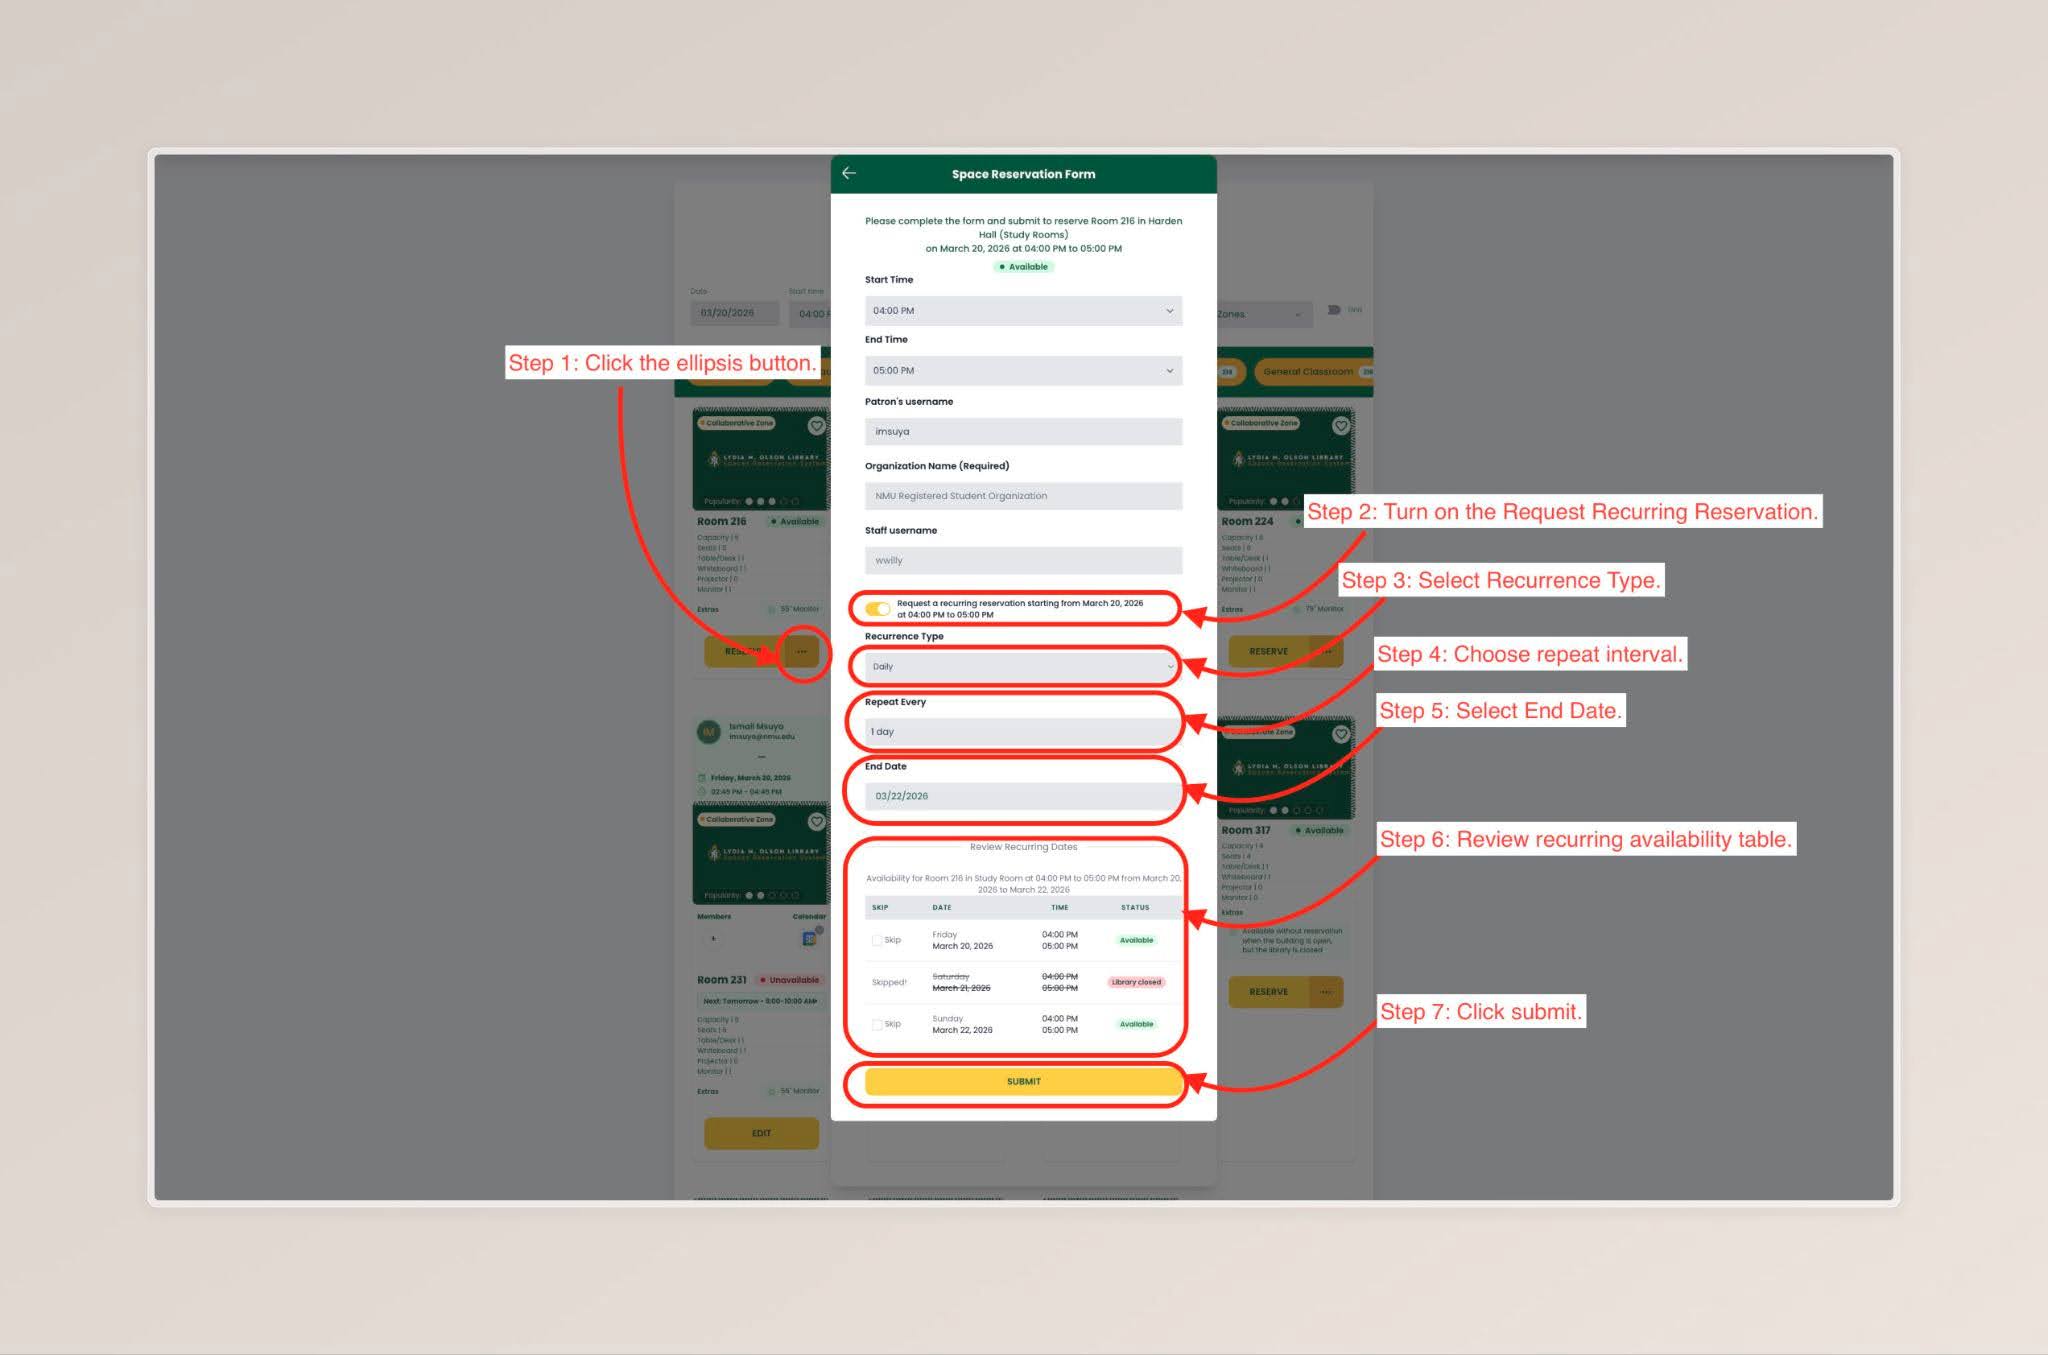
Using the Spaces System
Sign in to the Spaces Reservation System using your NMU SSO credentials.
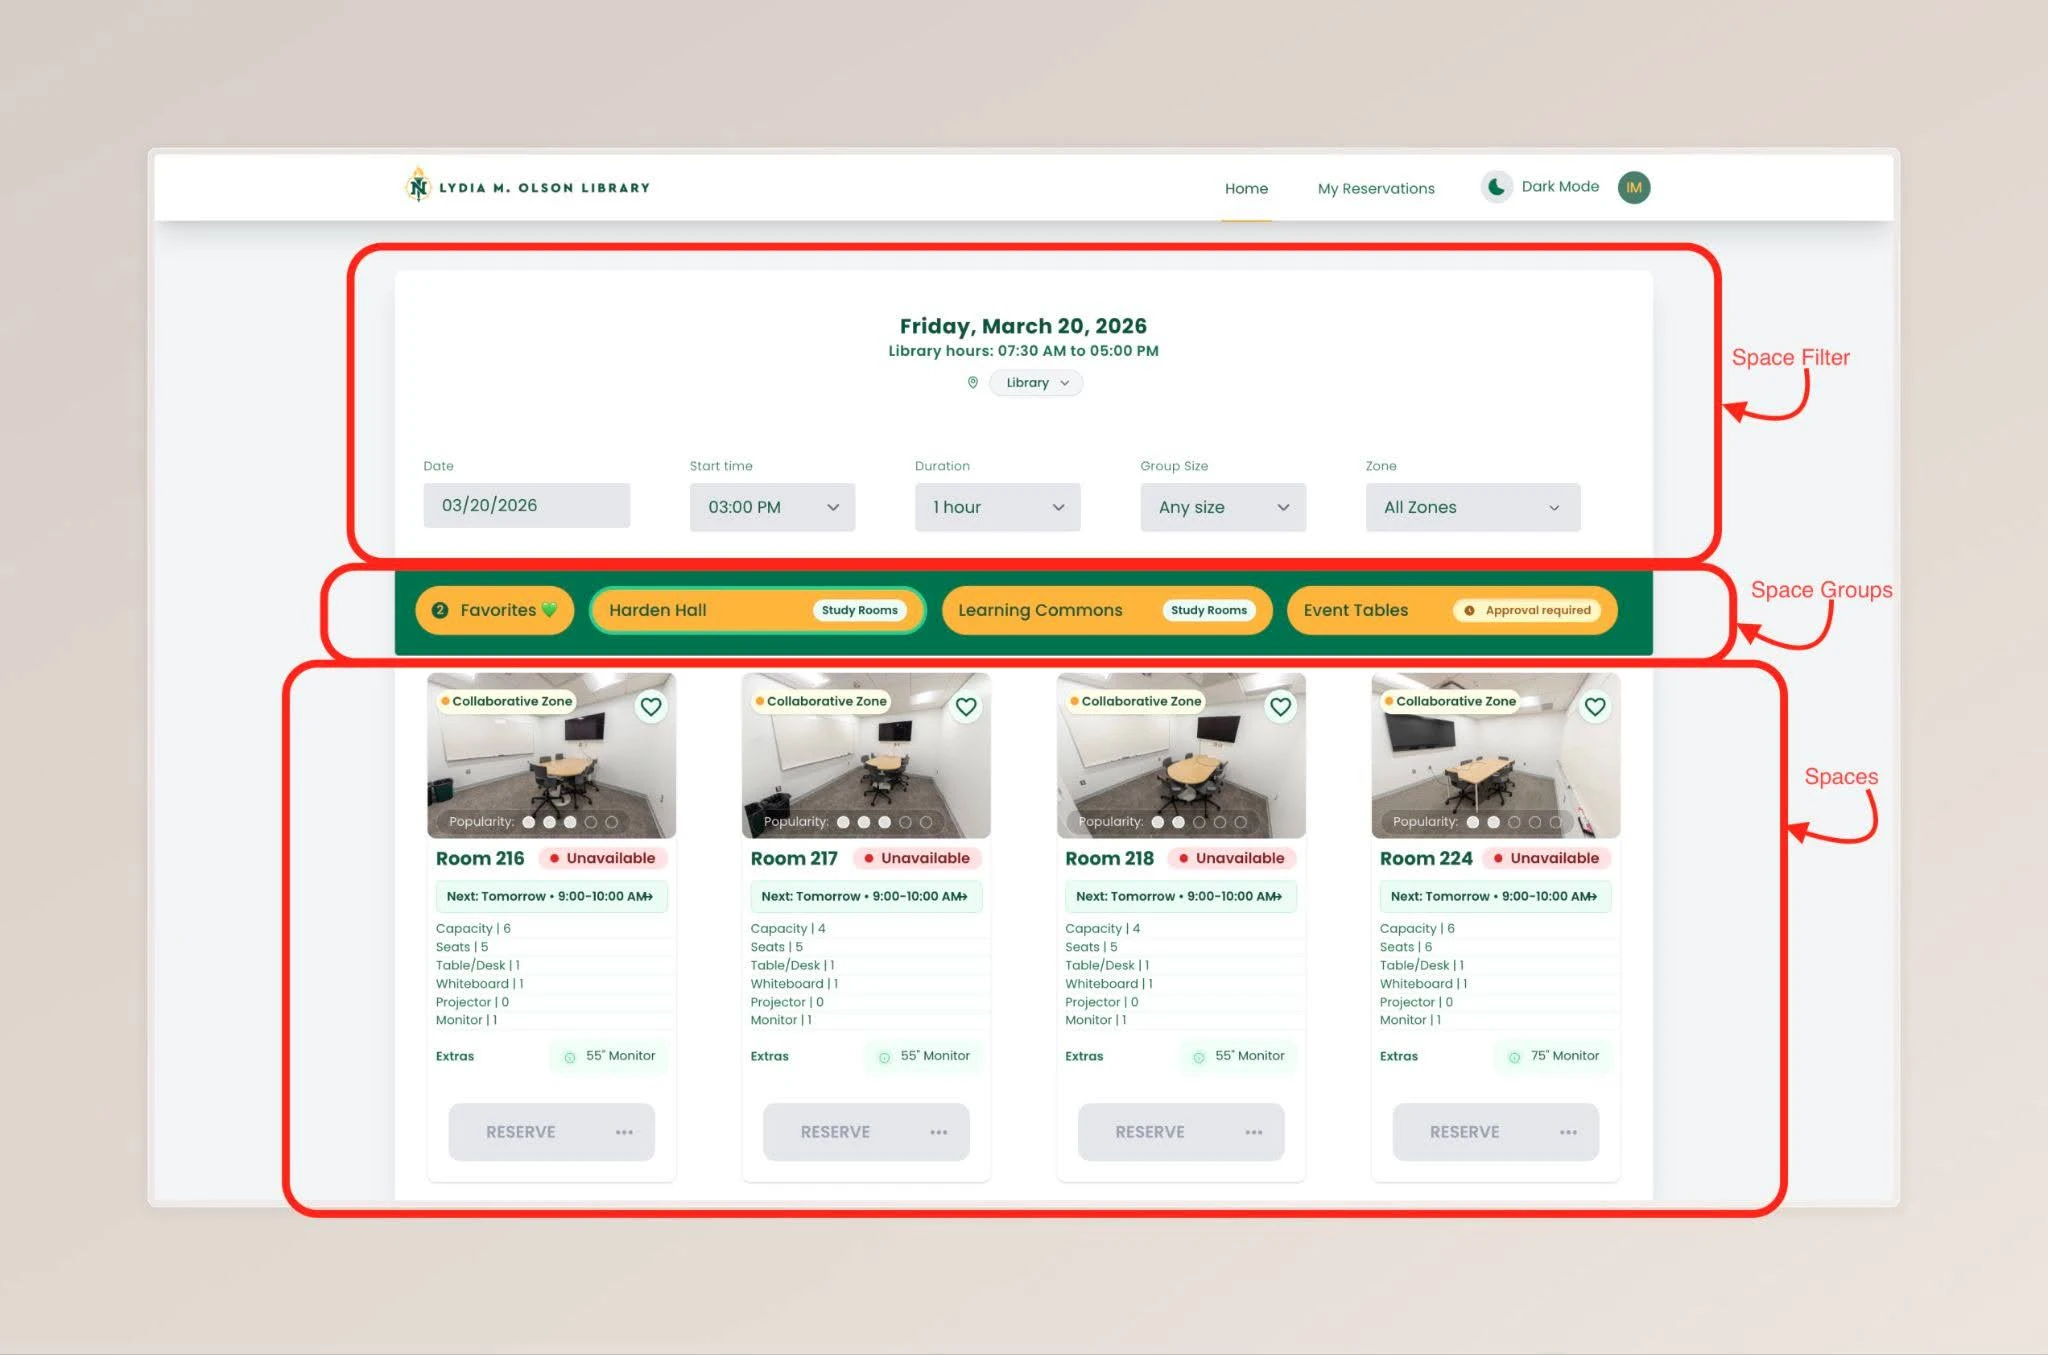
Once logged in, the system presents you with default filter settings:
- The date is set to the current date.
- The start time is set to the next half hour or full hour.
- The duration is set to one hour.
The end time and duration stay synchronized. Duration is capped at two hours, and the end time cannot go beyond the library's closing time for the selected date.
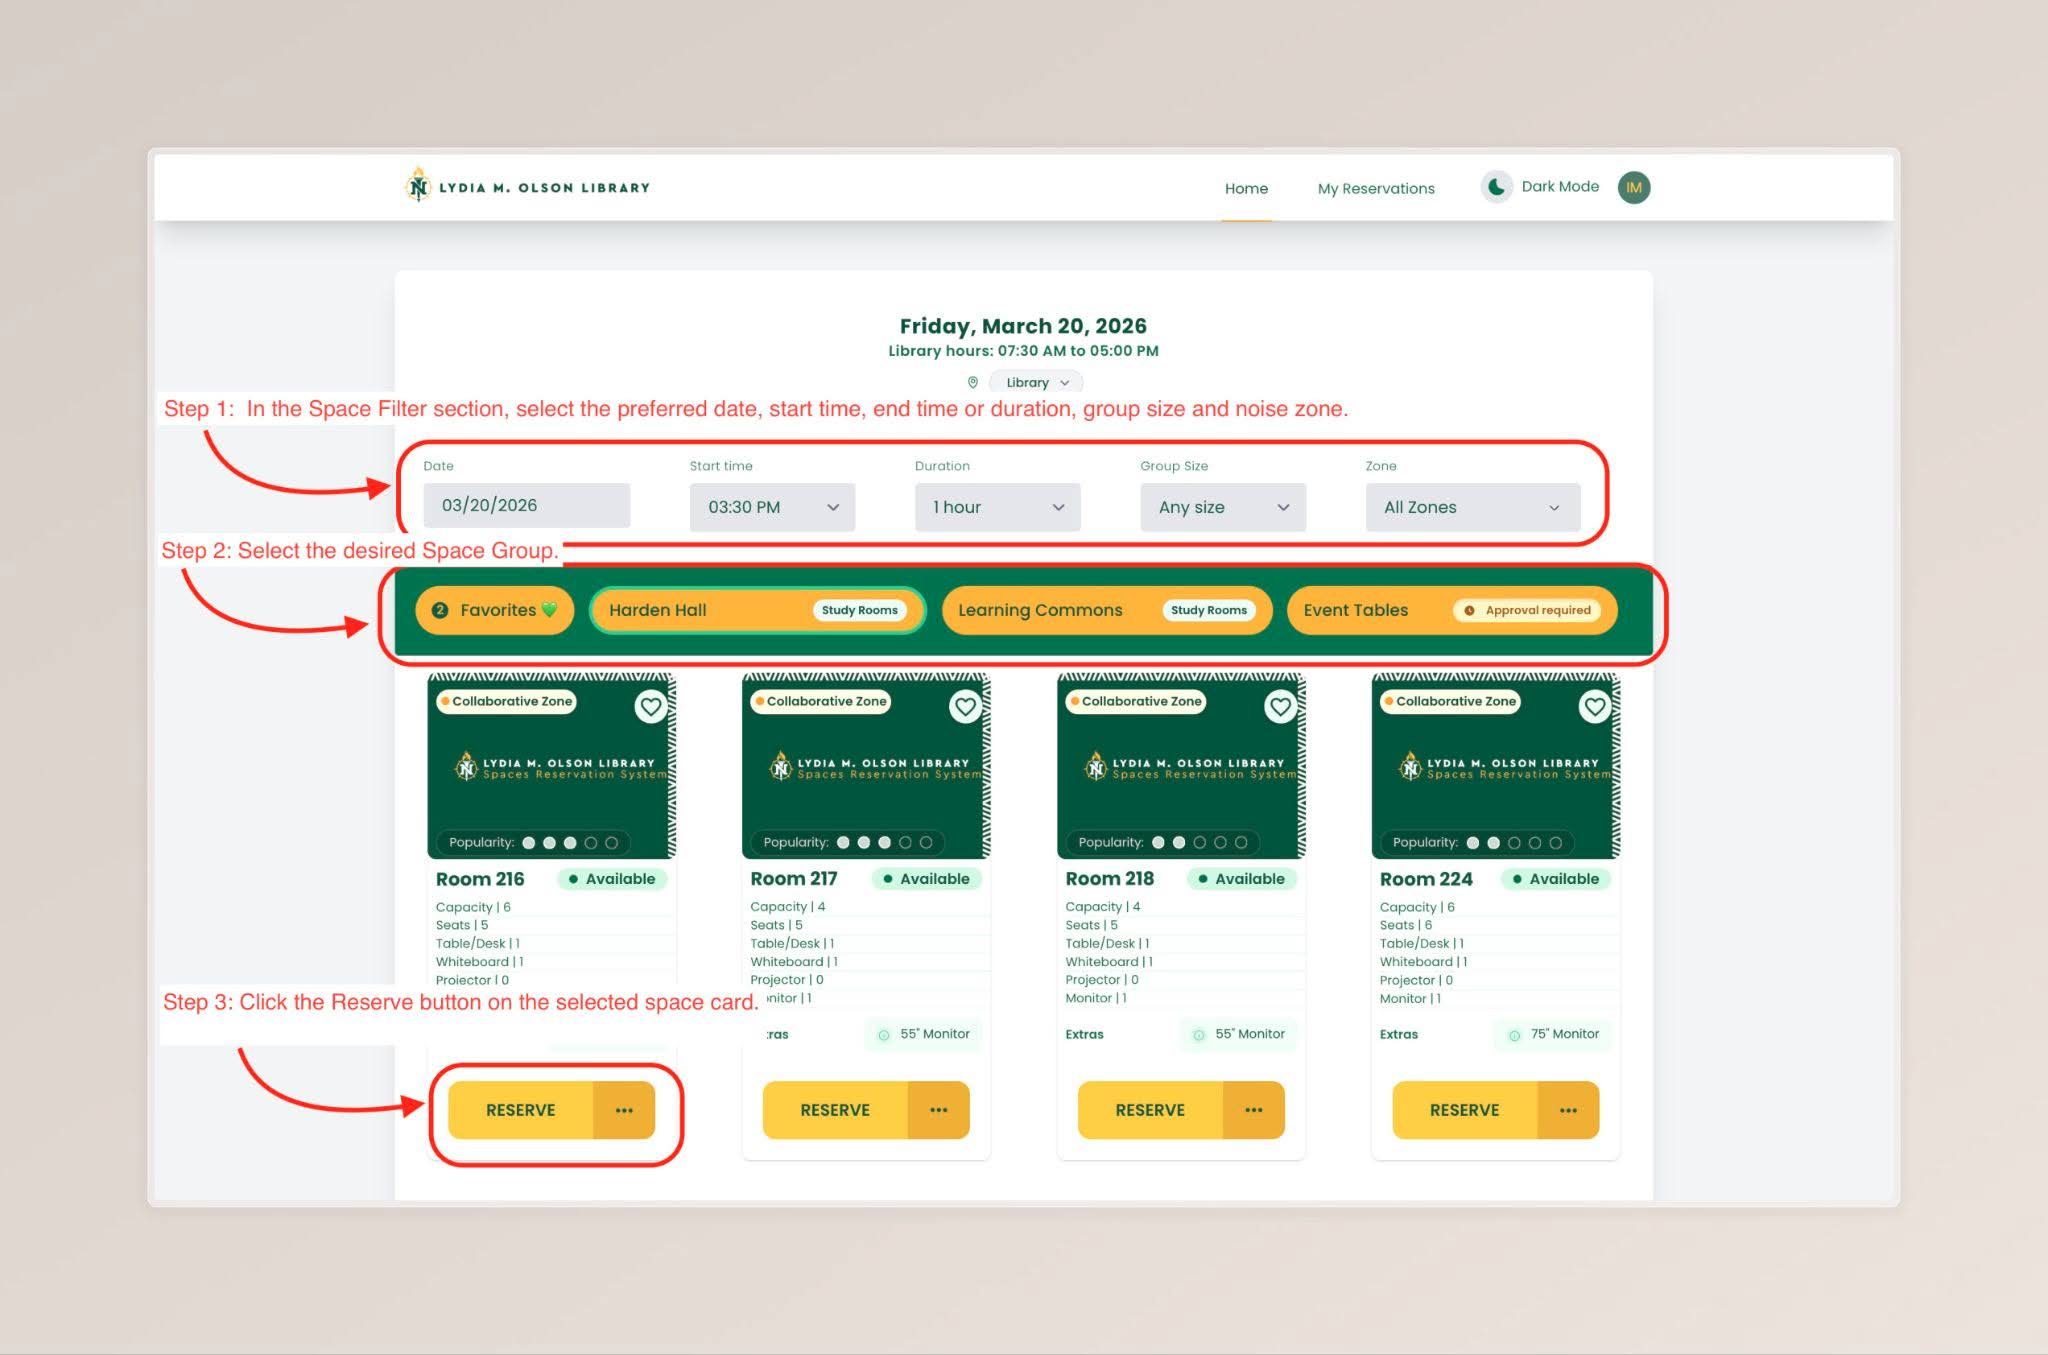
How To Reserve a Space for Yourself
- In the Space Filter section, select the preferred date, stat time, end time, group size, and noise zone.
- Select the desired Space Group.
- Click the Reserve Button on your preferred space card amongst the available spaces.
Detailed Image Description
The figure shows a Lydia M. Olson Library space reservation webpage with three red instructional annotations.
At the top of the webpage, a navigation bar includes the Lydia M. Olson Library logo, links for “Home” and “My Reservations,” a Dark Mode toggle, and a user icon.
Near the top center of the page, the selected date is Friday, March 20, 2026. Below it, the library hours are shown as 7:30 AM to 5:00 PM.
The first red annotation points to the space filter section. The instruction reads: “Step 1: In the Space Filter section, select the preferred date, start time, end time or duration, group size and noise zone.” The highlighted filters include Date, Start time, Duration, Group Size, and Zone.
The second red annotation points to the space group tabs. The instruction reads: “Step 2: Select the desired Space Group.” The visible space groups include Favorites, Harden Hall, Learning Commons, and Event Tables. Some groups include labels such as “Study Rooms” or “Approval required.”
The third red annotation points to the Reserve button on the first room card. The instruction reads: “Step 3: Click the Reserve button on the selected space card.” Below the space group tabs, several room cards are shown, including Room 216, Room 217, Room 218, and Room 224. Each card includes a room image, availability status, room details, extras, and a yellow Reserve button.
Note:
- NMU Students may only reserve a space for a maximum of two (2) hours per day.
- Library staff and faculty may reserve spaces for longer periods on behalf of someone else.